Digital Photography and Imaging / Project 2
30/09/2022 - 28/10/2022 / Week 6–Week 9


For this assignment, we had to take photos of ourselves. After capturing a few, I made the decision to use these pictures since their absurdity inspired me to create this double exposure project. I began by masking the portraits, then I positioned and centered the composition. I set up both photos such that both exposures would stand out.
The major concept I had in mind for my double exposure was the theme of memes since I find them to be a lot of fun. I started looking for portraits that matched mine that I could compare side by side. I added the memes after masking out half of my features. Although I enjoyed the aesthetic it created, I was concerned that it did not effectively display double exposure and that it appeared too amateur. For a movie poster look, I even overlaid on some textures and added effects like grain and gradients.


I made the decision to employ this composition, and I also much prefer the outcomes. I chose to reveal a little portion of the tree on myself rather than completely covering it out, leaving the remainder of the tree outside of myself. This gives the impression that the tree is expanding on my image. To make the result look more natural and clean, I utilized several blending modes including lighten and strong light.
After considering the feedbacks given, I decided to stick my first design for double exposure because i felt that it showcased double exposure the clearest.
Photo Manipulation Process


Hasnol Rafiq Bin Hasnol Raduan / 0356767
Digital Photography and Imaging / Bachelor of Design (Hons) in Creative Media / Taylor's Design School
Digital Photography and Imaging / Bachelor of Design (Hons) in Creative Media / Taylor's Design School
In double exposure photography, many photos are combined. Making them
fantastical, moving, or amusing is the aim. Typically, they have
silhouettes.
Digital manipulation in Photoshop may be used to produce the double exposure
picture effects. Blending modes are necessary in Photoshop to create double
exposure. Before getting the desired outcome, you must experiment with a
variety of blending options. When dealing with challenging issues like fire,
smoke, glass, lightning, etc., certain mixing modes are effective.
Digital Photography
The amount of light that reaches your camera's sensor or film is known as
exposure in photography.
The iris, shutter speed, and ISO parameters are used to control exposure.
Shutter speed and aperture are the only two camera settings that have any
real impact on how much light is actually captured in an image. The
brightness of photographs is impacted by ISO.
The term ISO originally referred to the film's sensitivity or
light-gathering capacity. It describes the sensitivity of the camera's
sensor in terms of digital photography. ISO 100, 200, 400, 640, 800, 1600,
3200, and 6400 are the standard settings. The camera is less light-sensitive
and produces finer grain as the ISO decreases.
The amount of light entering the lens is controlled by the iris.
The sequence of f-numbers f/1, f/1.4, f/2.8, f/4, f/5.6, f/8, f/11, f/16,
f/22, and f/32 represents the iris' f-stop value. The lens opening increases
as the f-number decreases.
A little plastic sheet called the shutter opens and closes to let light onto
the film or block it from doing so. 1/1000, 1/500, 1/250, 1/125, 1/60, 1/30,
1/15, 1/8, 1/4, 1/2, 1, 2, and 3 are the shutter speed units.
The necessary framing is provided by appropriate lenses. The angle of vision
is impacted by the lens selection.
For diverse uses, several lenses are created. Focal length is a way to group
lenses. Wider angles of vision are produced by shorter focal lengths, and vice
versa.
The distance in millimetres between the optical centre of a camera lens and
the camera's sensor is known as the focal length.
The percentage of the image that is relatively crisp and in focus is known as
the depth of field. The depth of field increases with decreasing iris size.
smartphones and DSLR cameras Both have decent cameras nowadays, but each has
advantages and disadvantages. The advantages of a smartphone include ease of
use, high-quality photographs, and familiarity with the gadget. Cons include
the fact that it is still restricted, that the quality isn't as excellent as
DSLR cameras, and that the design isn't ergonomic.
Photo Manipulation
Photoshop may be used to edit images to make items that appear strange. This may be done by removing specific portions of a photo and replacing them with other items. The pen tool may be used to draw detailed lines to produce certain effects, such as synthetic skin that resembles robot skin.
The effect may be made to appear more realistic by using shadows, employing bevel and emboss, modifying colours, etc.
INSTRUCTIONS
Double Exposure Process
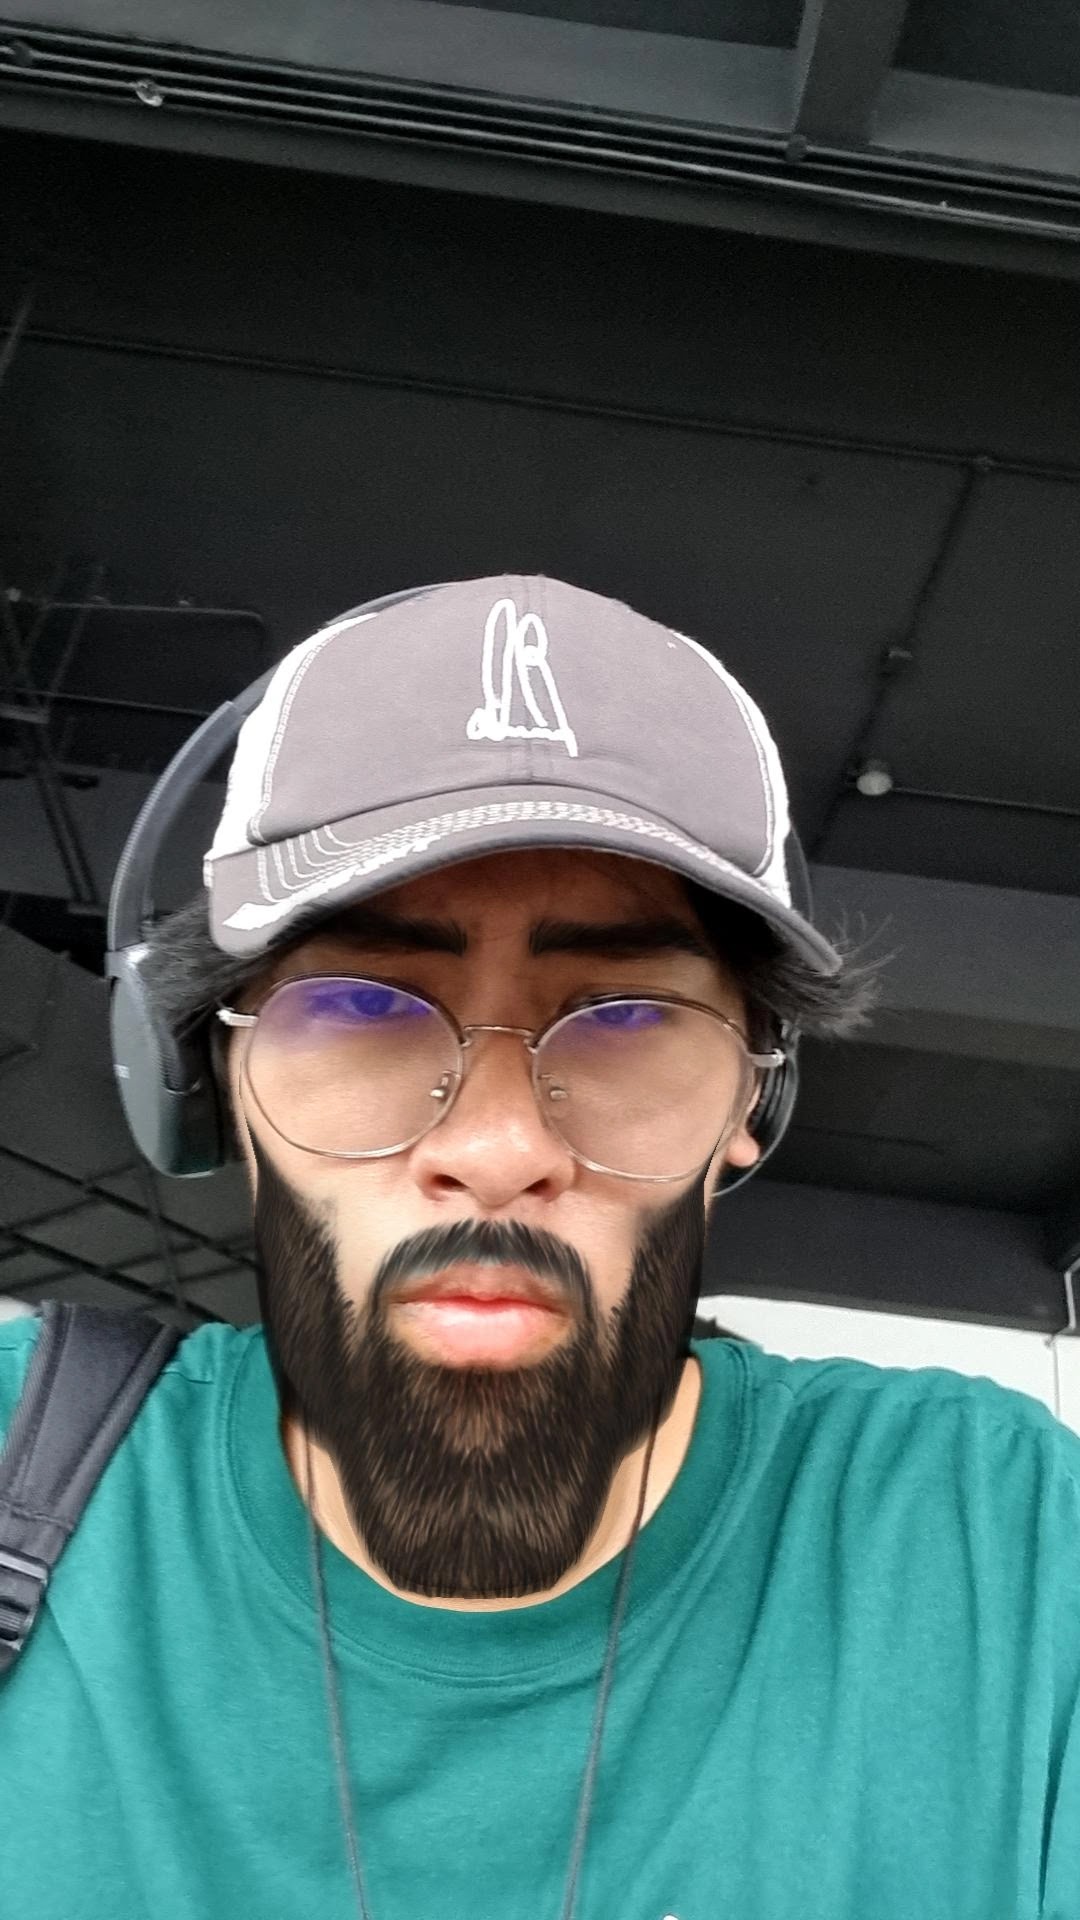

Figure 1.1/1.2 - Portraits of Myself


Figure 1.3/1.4 - Double Exposure Images
For this assignment, we had to take photos of ourselves. After capturing a few, I made the decision to use these pictures since their absurdity inspired me to create this double exposure project. I began by masking the portraits, then I positioned and centered the composition. I set up both photos such that both exposures would stand out.

|
| Figure 1.5 - Process of Double Exposure |

|
| Figure 1.6 - Process of Double Exposure |
The major concept I had in mind for my double exposure was the theme of memes since I find them to be a lot of fun. I started looking for portraits that matched mine that I could compare side by side. I added the memes after masking out half of my features. Although I enjoyed the aesthetic it created, I was concerned that it did not effectively display double exposure and that it appeared too amateur. For a movie poster look, I even overlaid on some textures and added effects like grain and gradients.

|
| Figure 1.5 - Final Result |
I decided to retake some photographs and begin a new composition because I
wasn't happy with the original one. I did this to see if I could better
highlight the double exposure effect.

Figure 2.1 - Portrait of Myself // Figure 2.2 - Double Exposure Trees
I made the decision to employ this composition, and I also much prefer the outcomes. I chose to reveal a little portion of the tree on myself rather than completely covering it out, leaving the remainder of the tree outside of myself. This gives the impression that the tree is expanding on my image. To make the result look more natural and clean, I utilized several blending modes including lighten and strong light.

|
| Figure 2.3 - Final Result |
After considering the feedbacks given, I decided to stick my first design for double exposure because i felt that it showcased double exposure the clearest.
Photo Manipulation Process

|
| Figure 3.1 - Mood Board |
The assignment was to merge two photographs and modify them to create
something that highlights aspects of both images. I started by making a
visual mood board to serve as inspiration.


Figure 3.2 & Figure 3.3 - Photo Manipulation Sketches
I decided to "sketch" a couple concepts in Photoshop, but nothing of them
satisfied me. Due to time constraints, I was unable to capture any photographs
of my own, but fortunately, I was able to use web images for my photo
manipulation. I changed my mind and opted to combine an egg and a candle
instead since I believed it would allow me to demonstrate my photo
manipulation capabilities and because I liked the concept.


Figure 3.4 - Egg // Figure 3.5 - Candle
I decided to use these images because they were similar enough to make for
an easy process when combining them in photoshop.

|
| Figure 3.6 - Photo Manipulation Process |

|
| Figure 3.7 - Photo Manipulation Process |
I started by masking off everything I needed from the two photos and
attempting to align the shapes. After that, I adjusted the candle's blending
mode to multiply, which allowed me to make the candle and egg appear to be
one. After successfully combining the two photos, I applied some color
correction to ensure they were of the same tone. I opted to use grain and text
since I thought it would give the impression of a magazine and look
interesting. The wording "egg-cense" is a play on words between egg and
incense, which I felt would be appropriate given that the picture is a cross
between an egg and a candle.

|
| Figure 3.8 - Final Photo Manipulation |
Feedback
Week 6: My double exposure composition is nice, but I should continue with my first double exposure since it highlights the talents better and appears more visually attractive.
Week 8: No feedback was provided.
Week 7: The skateboard and popsicle are so clear in each of the mock-ups that they are basically two pictures cut together. The egg and the eye is a fantastic idea, but it falls short since the two pictures don't really mix properly.
Week 9: No feedback was provided.
Reflection
The exercises involving double exposure and photo editing helped me become more used to Adobe Photoshop. I was able to improve my abilities thanks to this, including my ability to think creatively and come up with innovative approaches to problems. I also felt that the camera-related skills I acquired greatly expanded my range of capabilities. Overall, I've gained a lot of technical knowledge and creativity in Photoshop.


Comments
Post a Comment